Timlify
appointment scheduling app
- created: 04/25/2017
- latest update: 05/05/2017
- by: SolverCircle Ltd
- email: developers@solvercircle.com
Thank you for purchasing our "Timlify" App. If you have questions that are beyond the scope of this help file, please feel free to email via our user page contact form. Thank you so much!
Introduction
"Timlify" is a Shopify appointment scheduling app that allows your customer to pre booking appointments for any services directly from your website.
"Timlify" app is a powerful scheduling plugin which has necessary features and user-friendly interface with flexible admin panel.
By this app, your customer will take a quick view of your services and can book a suitable appointment in a specific time and date slot.
This app is suitable for the service professionals like doctor, lawyer, consultant, therapist, tutor, instructor, singer, artist, photographer, stylist and others who need to schedule their time and date with clients through online. You can create your appointment schedule on a particular date and time.
This app is well implemented with all the necessary features that will make the online booking quite simpler and easier for your customer.
"Timlify" app is more flexible and compatible with many existing apps in the Shopify repository. Users can easily configure this app into the new or existing Shopify store.
Features
- Customers / Clients can book appointments for the services directly from a website.
- Customers / Clients can take a quick view of your services appointment.
- User-friendly interface with flexible admin panel.
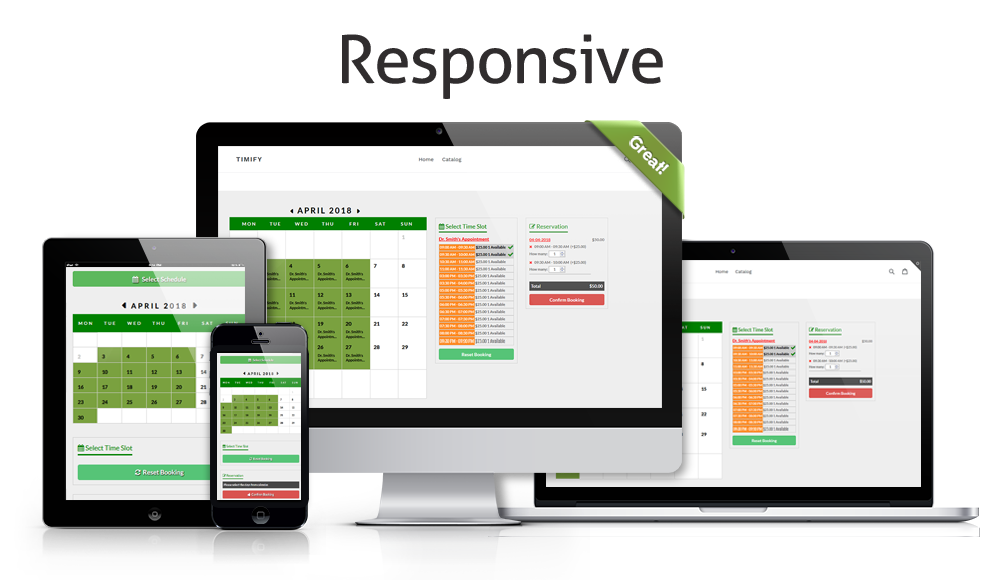
- Fully responsive design to fit any devices.
- Make appointment schedule in specific time and date slot.
- Filter option for all the booking products.
- Set the booking date and availability from the backend.
- Booking status can be enabling or disabling.
- Filter option for the entire booking list.
- Auto generates option for duplicate booking. Admin can select booking date, select weekend, add specific day weekend and create time slot in auto-generate option.
- Booking time format can be set.
- Advanced user can add custom CSS.
Advanced Installation Tips
This app is usually auto installed. If the auto installation does not work then it may be necessary to implement the following:
This section will cover the guideline about manual installation that requires some theme liquid changes. If your app does not work as expected after the installation or you want to implement more improvements then you can try manual installation to fix those issues.1. Login your Shopify Store in Admin panel.
2. Now hit our Apps URL and click on to Get button.
3. Install the Timlify app.
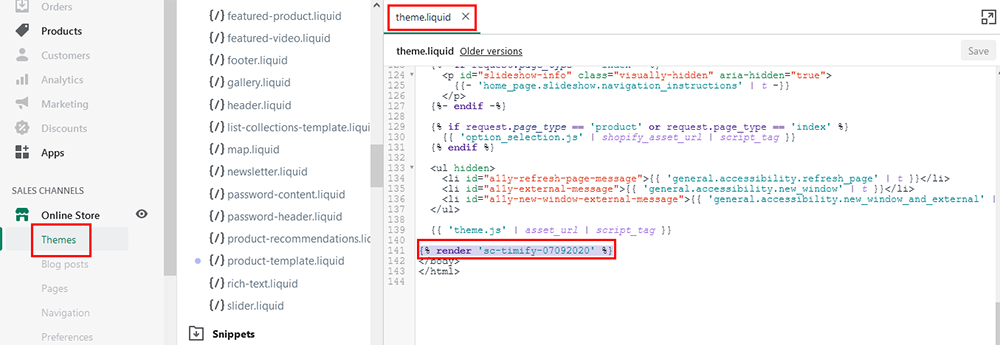
4. Go to Themes menu of Admin Dashboard and Edit code of your published themes to install the app.
5. Click on Template Editor and put the Timlify App code in the following files.
	<!--Start: SC timify -->
	{% render 'sc-timify-07092020' %}
	<!--End: SC timify -->
Please see the screenshot below for a clear overview
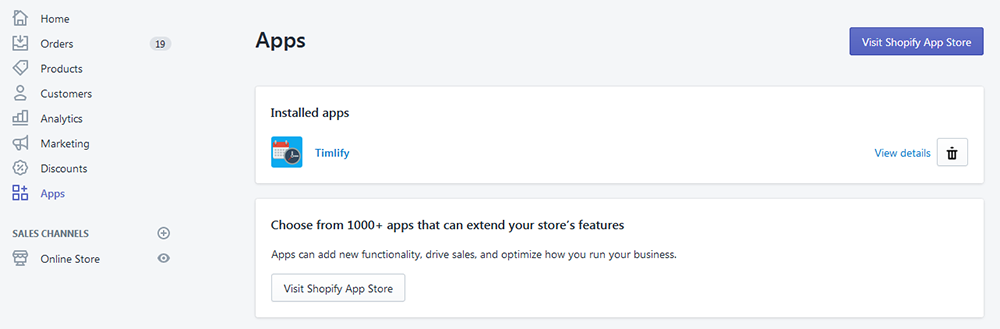
6. So your app has installed. Now go to Apps menu of Admin Dashboard and click on the Timlify Apps link.
7. Now configure your settings.
App Installation Video
How to Create an Appointment Booking?
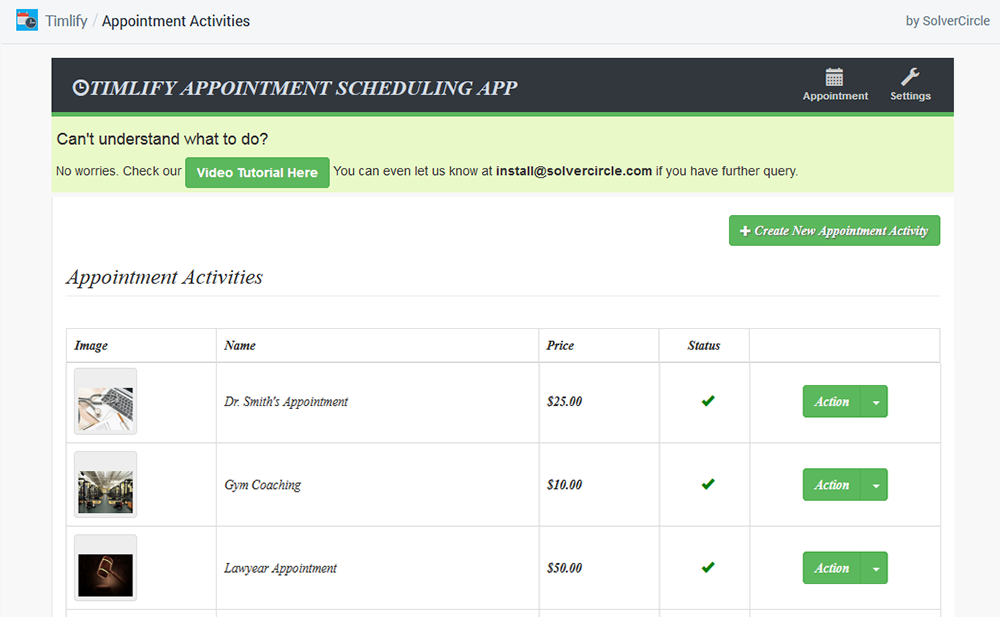
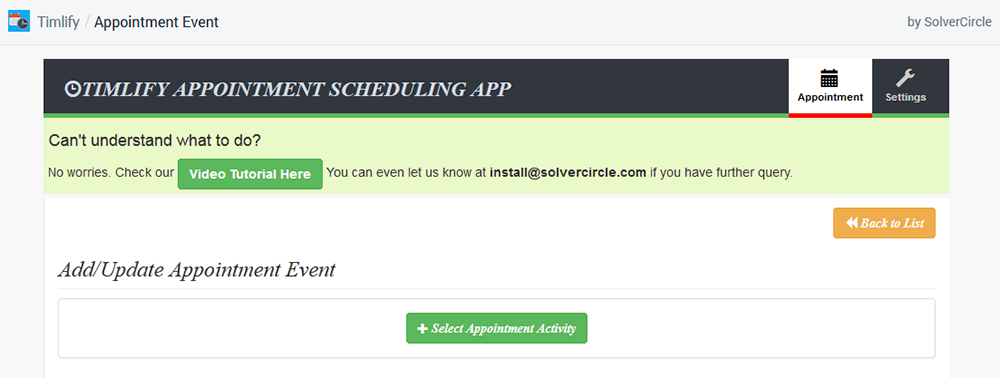
- At first go to Apps menu of Admin Dashboard and click on Timlify App link.
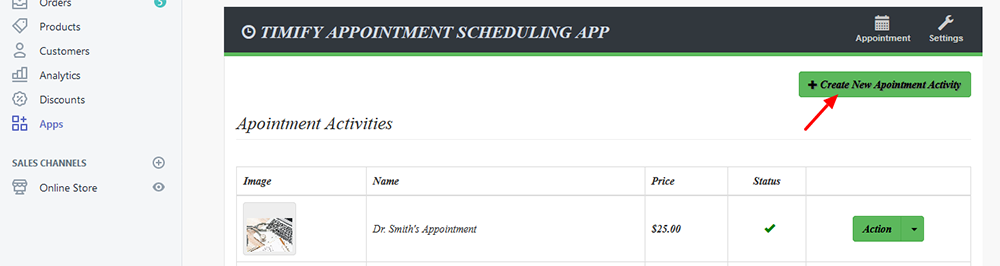
- Now click on Create New Appointment Activity button to create a new appointment.
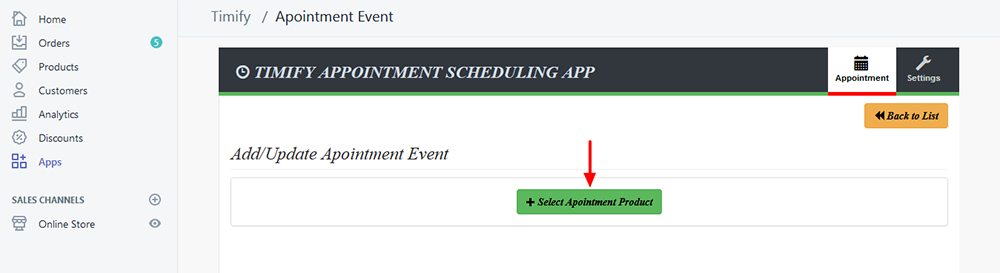
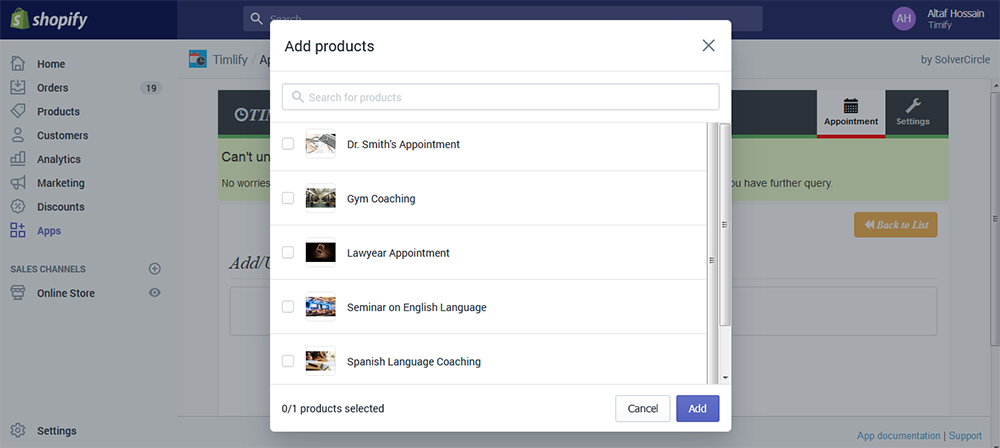
- After that click on Select Appointment Product.
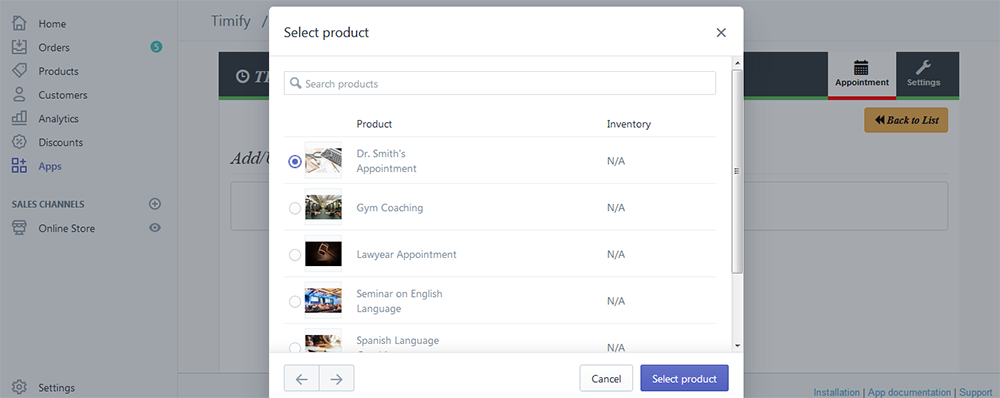
- Here, you need to select your desired product as an appointment item
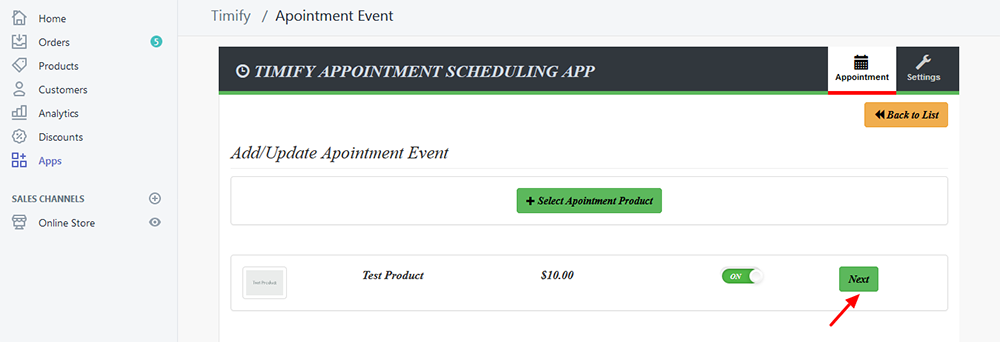
- After select a product, you will find like as following screenshot. Now click on Next button
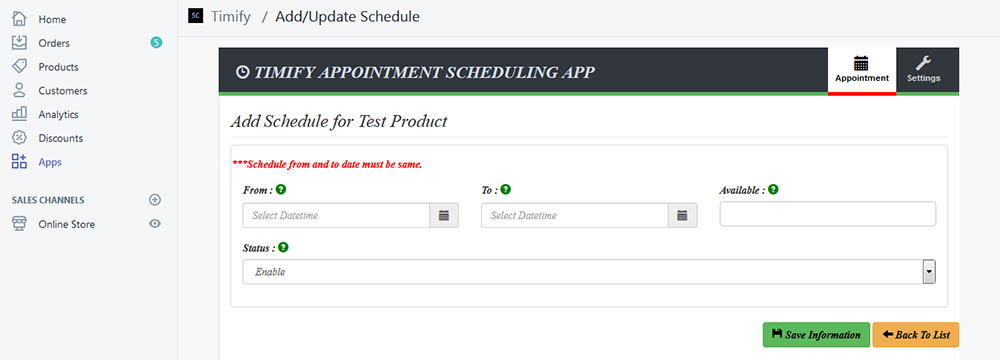
- Now fill up the following fields namely From, To, Available and Status. Finally, click on Save Information button to create your first schedule.
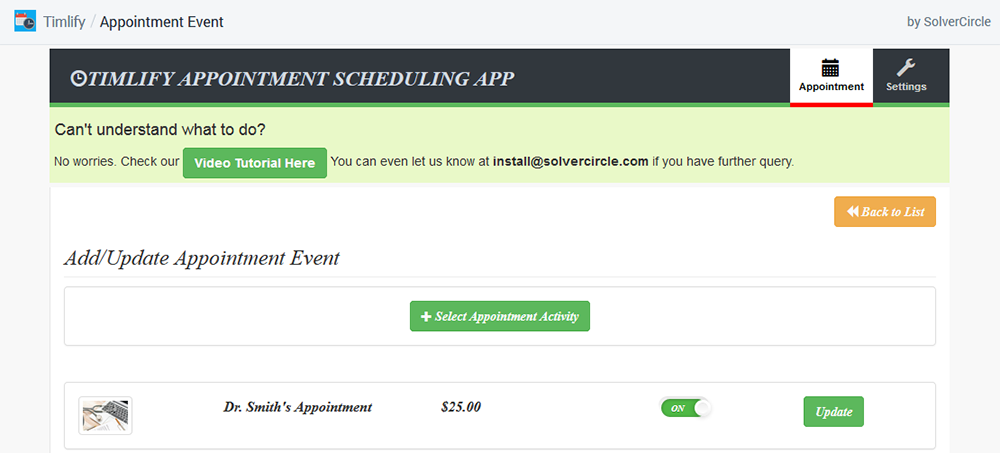
- After save all the information your first appointment will be create.
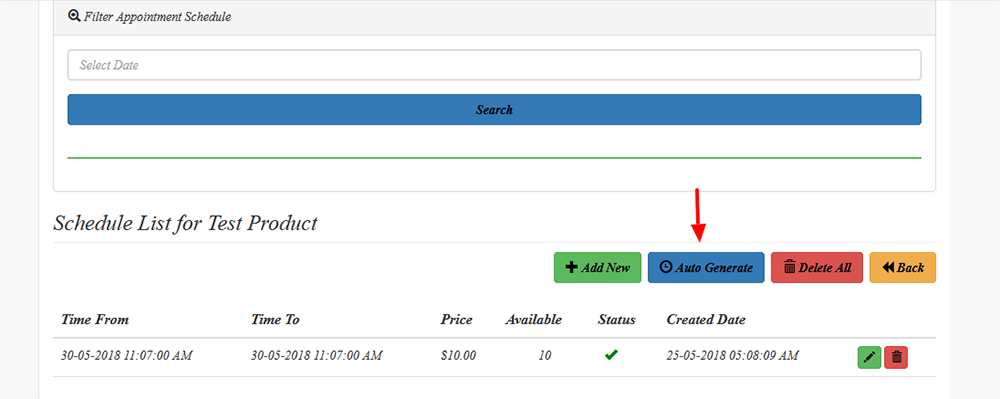
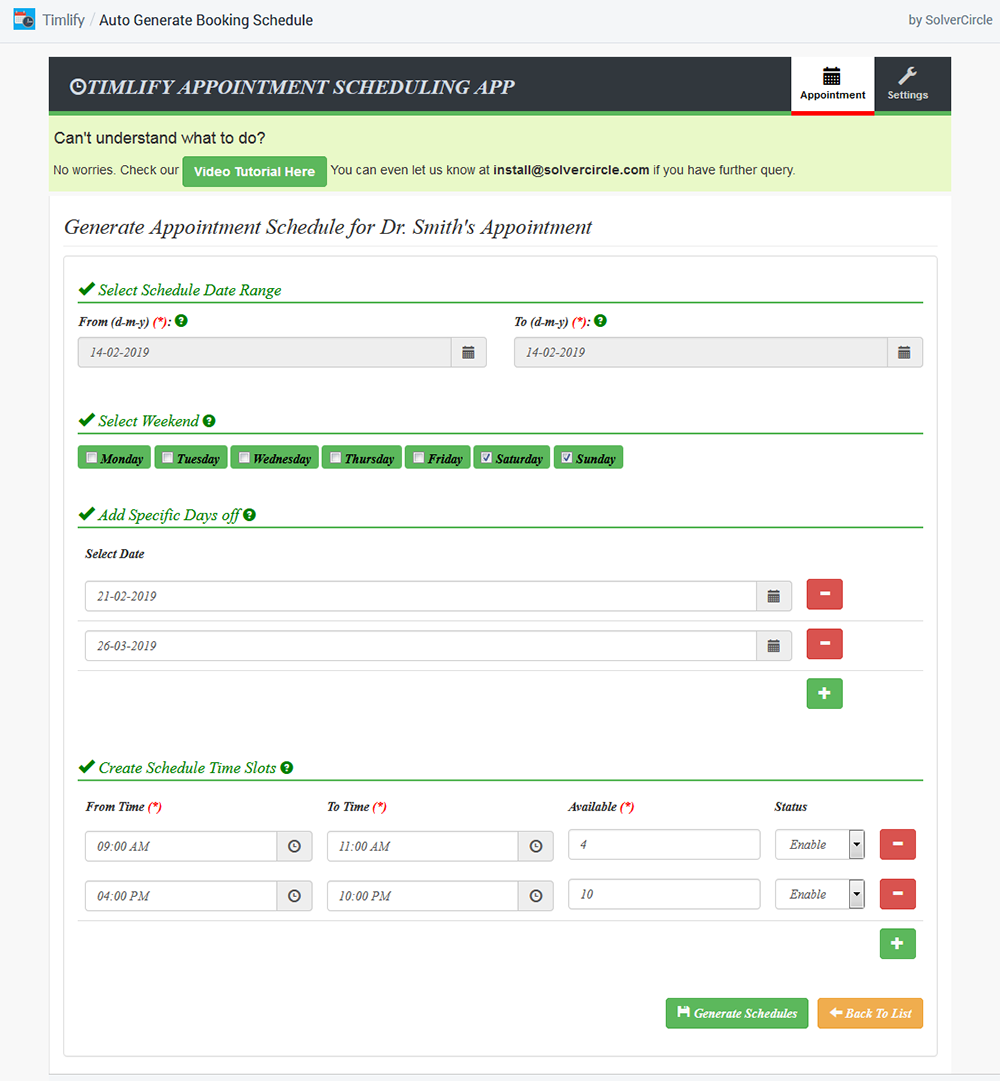
- For auto generate the appointment schedule click on Auto Generate button.
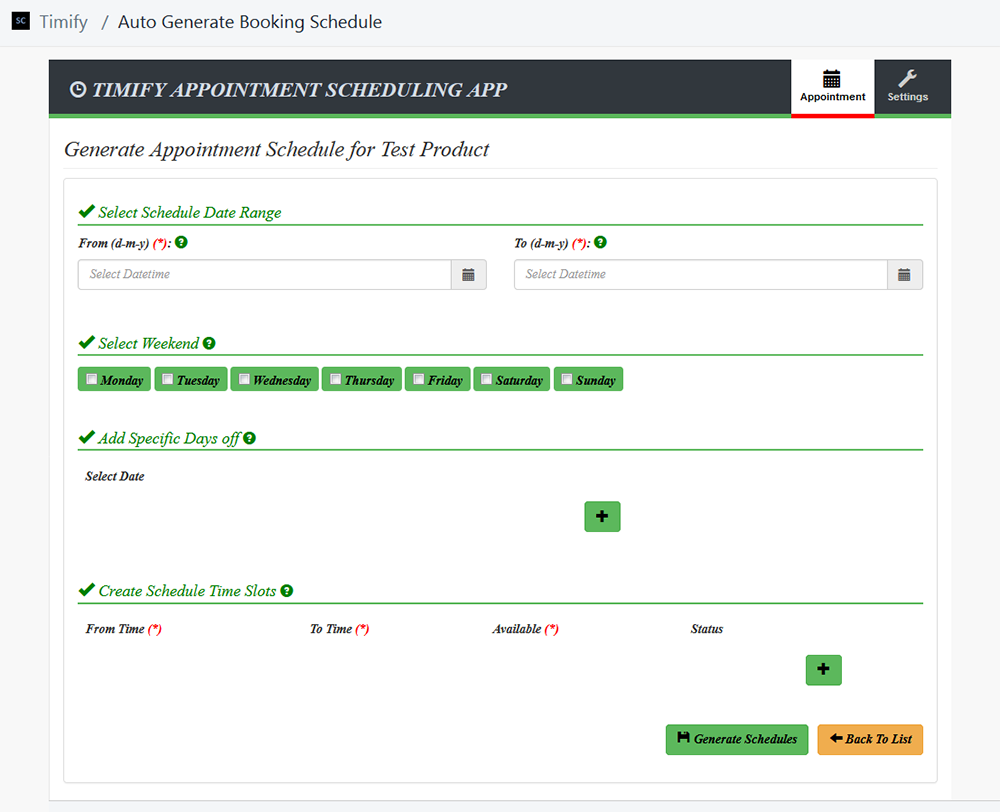
- You can automatically generate unlimited dates and times booking schedule by inserting information in the following form.
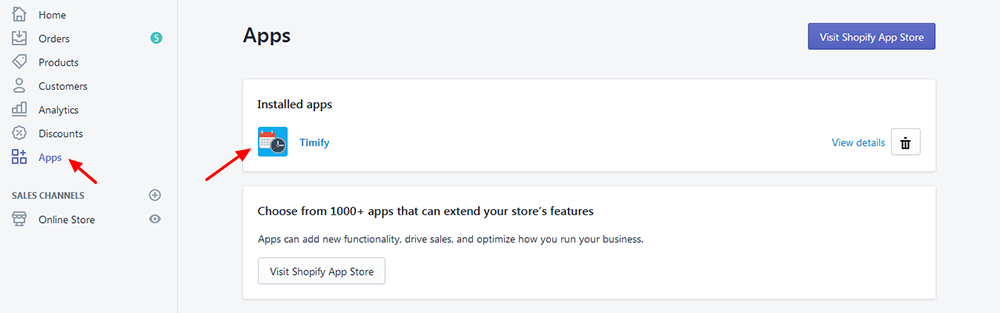

Admin - Installed App
Admin - Appointment Activities
Admin - Add Appointment Event
Admin - Select a Product
Admin - Add Appointment Schedule

Admin - Appointment Booking List

Admin - Appointment Action

Admin - Appointment Enable/Disable
Admin - Auto Generate Booking Settings

Admin - Auto Generate Booking with Data
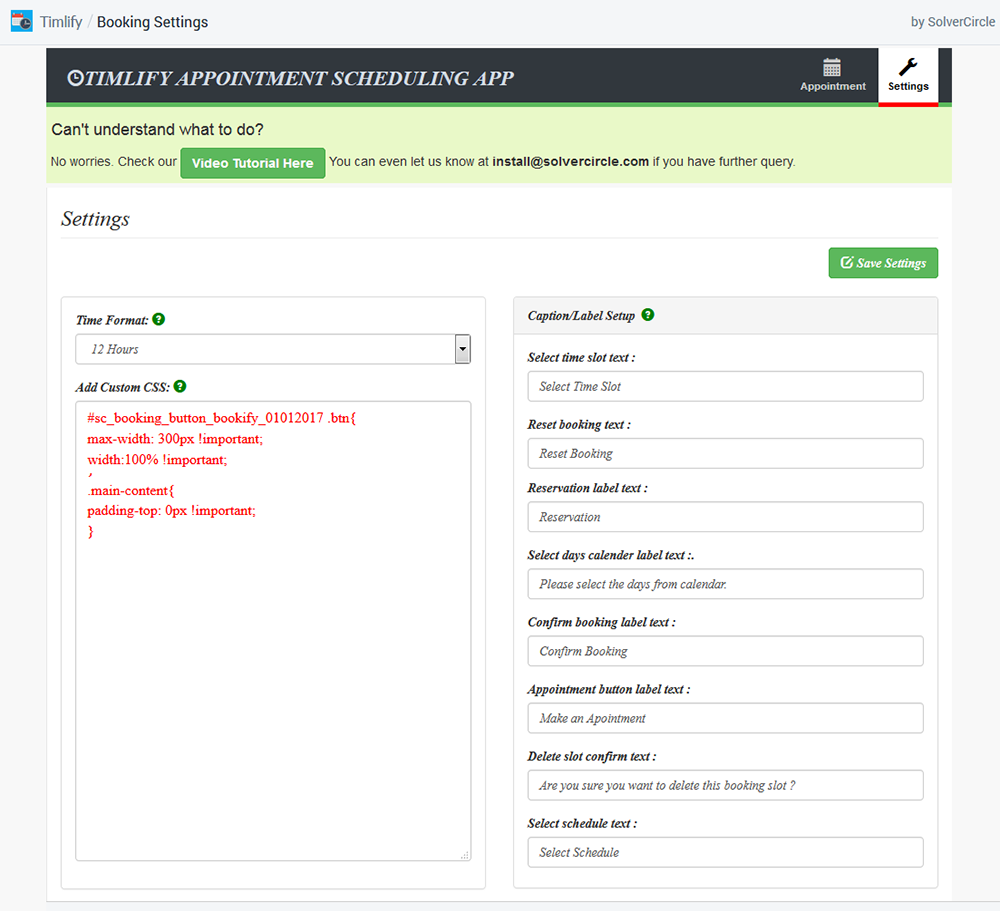
Admin - Settings
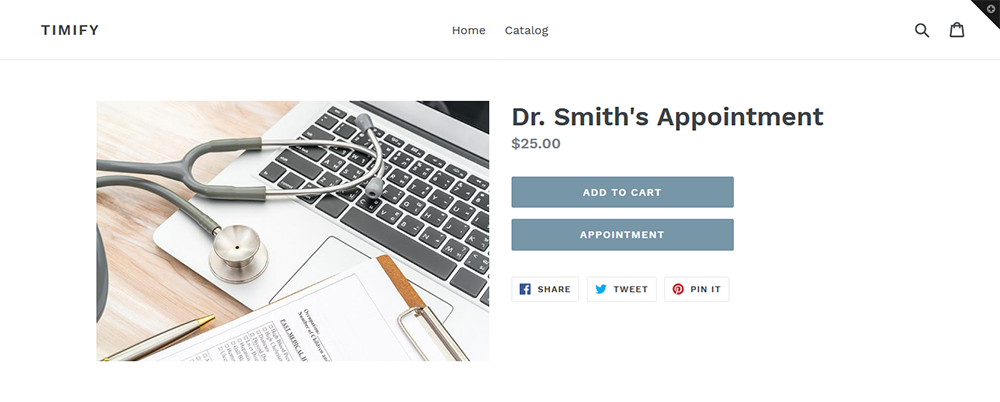
Front - Appointment Button
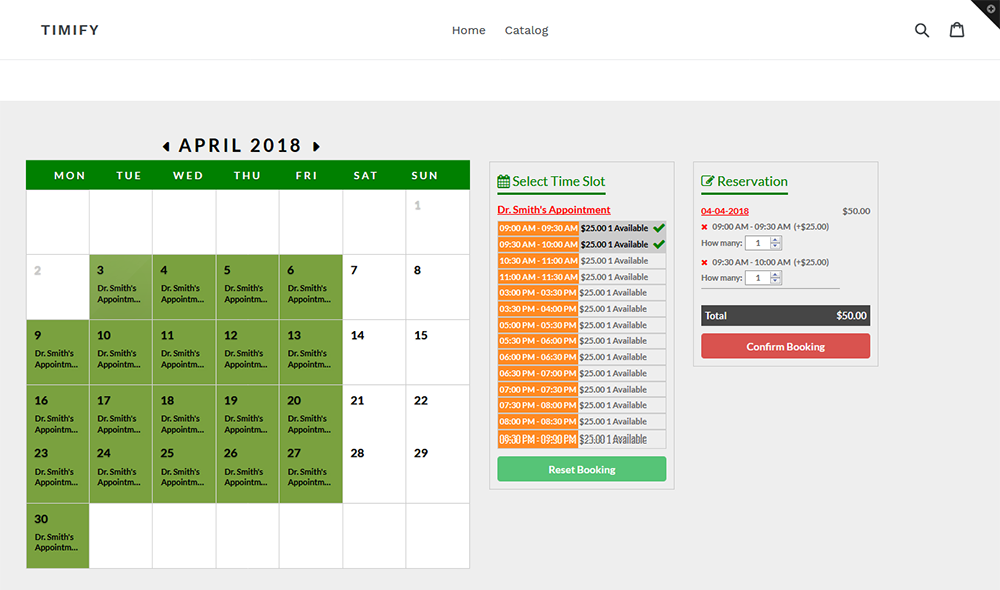
Front View
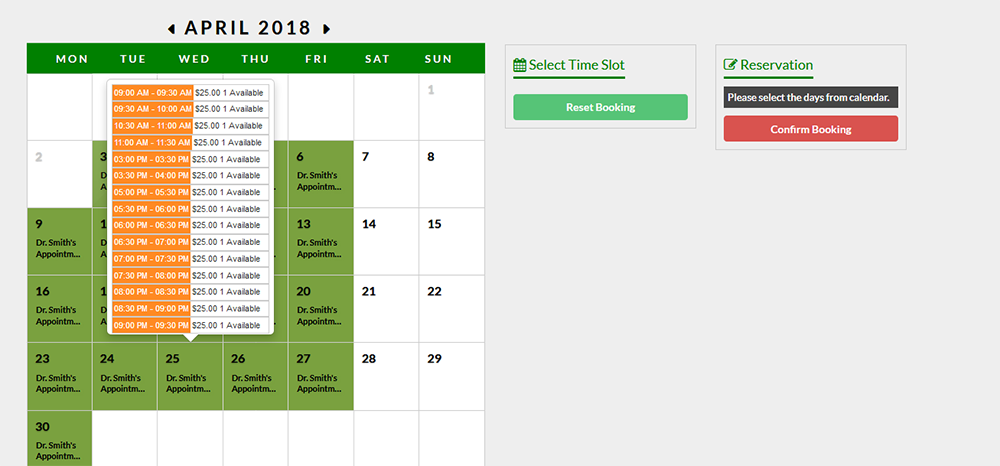
Front - Tool-tip
Front - Responsive
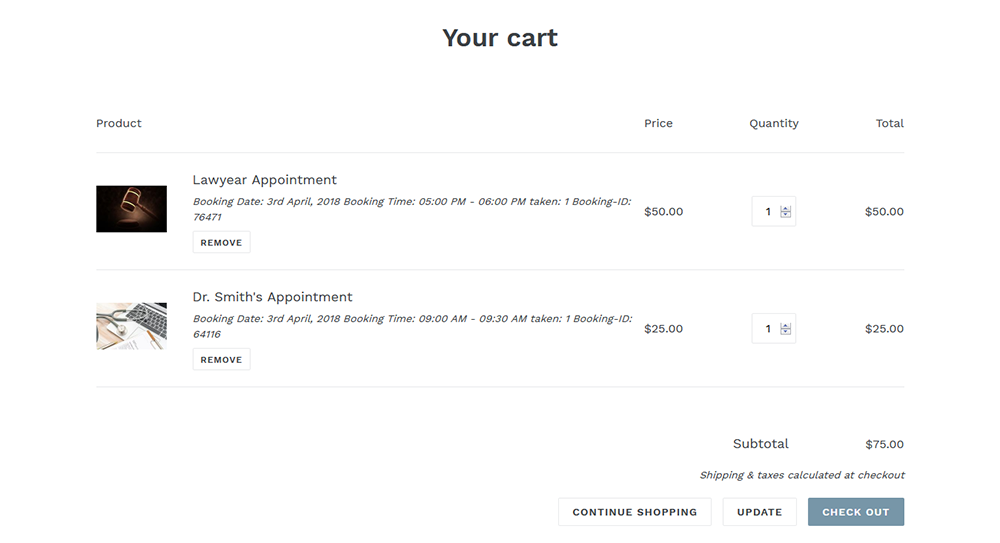
Front - Cart Page